Windows
Minimum System Requirements
- At least 3GB free space for neurodesktop base image
- Docker requirements. Details found under https://docs.docker.com/get-docker/
- If installing docker using WSL, minimum 20GB space recommended for WSL with Ubuntu
Quickstart
1. Install Docker or Podman
Install Docker from here: https://docs.docker.com/get-docker/
Alternatively, Neurodesk also works with Podman, follow the Podman installation instructions provided at https://podman.io/docs/installation.
2. Run Neurodesktop
Use one of the following options to run Neurodesktop:
Option 1 (Recommended): Neurodesk-App
Instructions for installing and using the app: https://www.neurodesk.org/docs/getting-started/neurodesktop/neurodeskapp/
Option 2 (Advanced): Using Terminal
- Open a terminal (e.g. Powershell), and type the following command to automatically download the neurodesktop container and run it
docker volume create neurodesk-home
# This creates a docker volume to store your /home/jovyan data inside a docker volume
docker run --shm-size=1gb -it --privileged --user=root --name neurodesktop -v C:/neurodesktop-storage:/neurodesktop-storage --mount source=neurodesk-home,target=/home/jovyan -p 8888:8888 -e NEURODESKTOP_VERSION=2025-06-10 vnmd/neurodesktop:2025-06-10
- Once neurodesktop is downloaded, leave the terminal open and check which server neurodesktop running on (Avoid pressing CTRL+C). ]
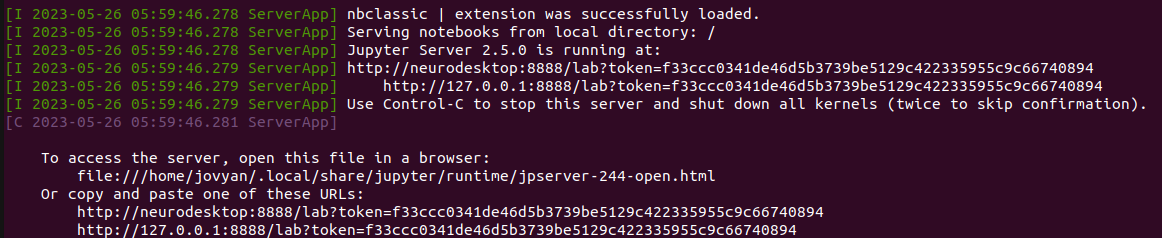
- To access neurodesktop, open your web browser and type in one of the URLs provided in your terminal (e.g.
http://127.0.0.1:8888/lab?token=your_unique_token).
Note
We do not recommend the use of the Firefox browser for accessing Neurodesktop on Windows 10, as firefox is not able to access localhost where neurodesk is running.Press on “Desktop Auto-Resolution” under “ALL CONNECTIONS”
If it is the first time you use Neurodesktop, wait until the desktop appears (it may take a few seconds). Otherwise, it should appear instantaneously.
Neurodesk is ready to use! See the tutorials page for advice on how to use Neurodesk.
For an optimal experience, switch your browser to full-screen mode by following the instructions for your browser here: https://www.thewindowsclub.com/open-chrome-edge-or-firefox-browser-in-full-screen-mode
Deleting neurodesktop:
When done processing your data it is important to stop and remove the container - otherwise the next start or container update will give an error ("… The container name “/neurodesktop” is already in use…")
Note
Note that any data that were saved outside of /neurodesktop-storage would be lost. Please make sure to move all your data to that folder before deleting neurodesktop.Click on the terminal from which you ran neurodesktop
Press control-C
Type:
docker stop neurodesktop
- Type:
docker rm neurodesktop